Hello, crafty peeps! Today I want to share with you my project for this week's challenge at T
hrough the Craft Room Door (TTCRD). With Christmas just a short time away, I have been trying to get as many done as possible to mail out to special family and friends. I'm not sure if I'll make it, but I'm giving it my all! 😉
Here is a bit about our sponsor, Decosse Dynamite Doodles:
Are you interested in digital sentiments, papers and other embellishments? How about a badge made especially for your blog? If these are items you are interested in, you are going to want to check out Décosse's Dynamite Doodles. My name is Lisa and with over 150+ posts of freebies to choose from, and new ones added often, I just might have what you are looking for. Along with the freebies I offer, I also create blog badges, digital paper packs and scrapbooking kits. Additionally, I'm so excited to now be sponsoring giveaways and challenges at other blogs. It is my honour to be able to sponsor this challenge for
Through the Craftroom Door!
So, if you have the time, come and take a look. There is always inspiration to be found among my many different features. I'd love for you to pop by and visit me. I hope you have a blast!
Front
Close up
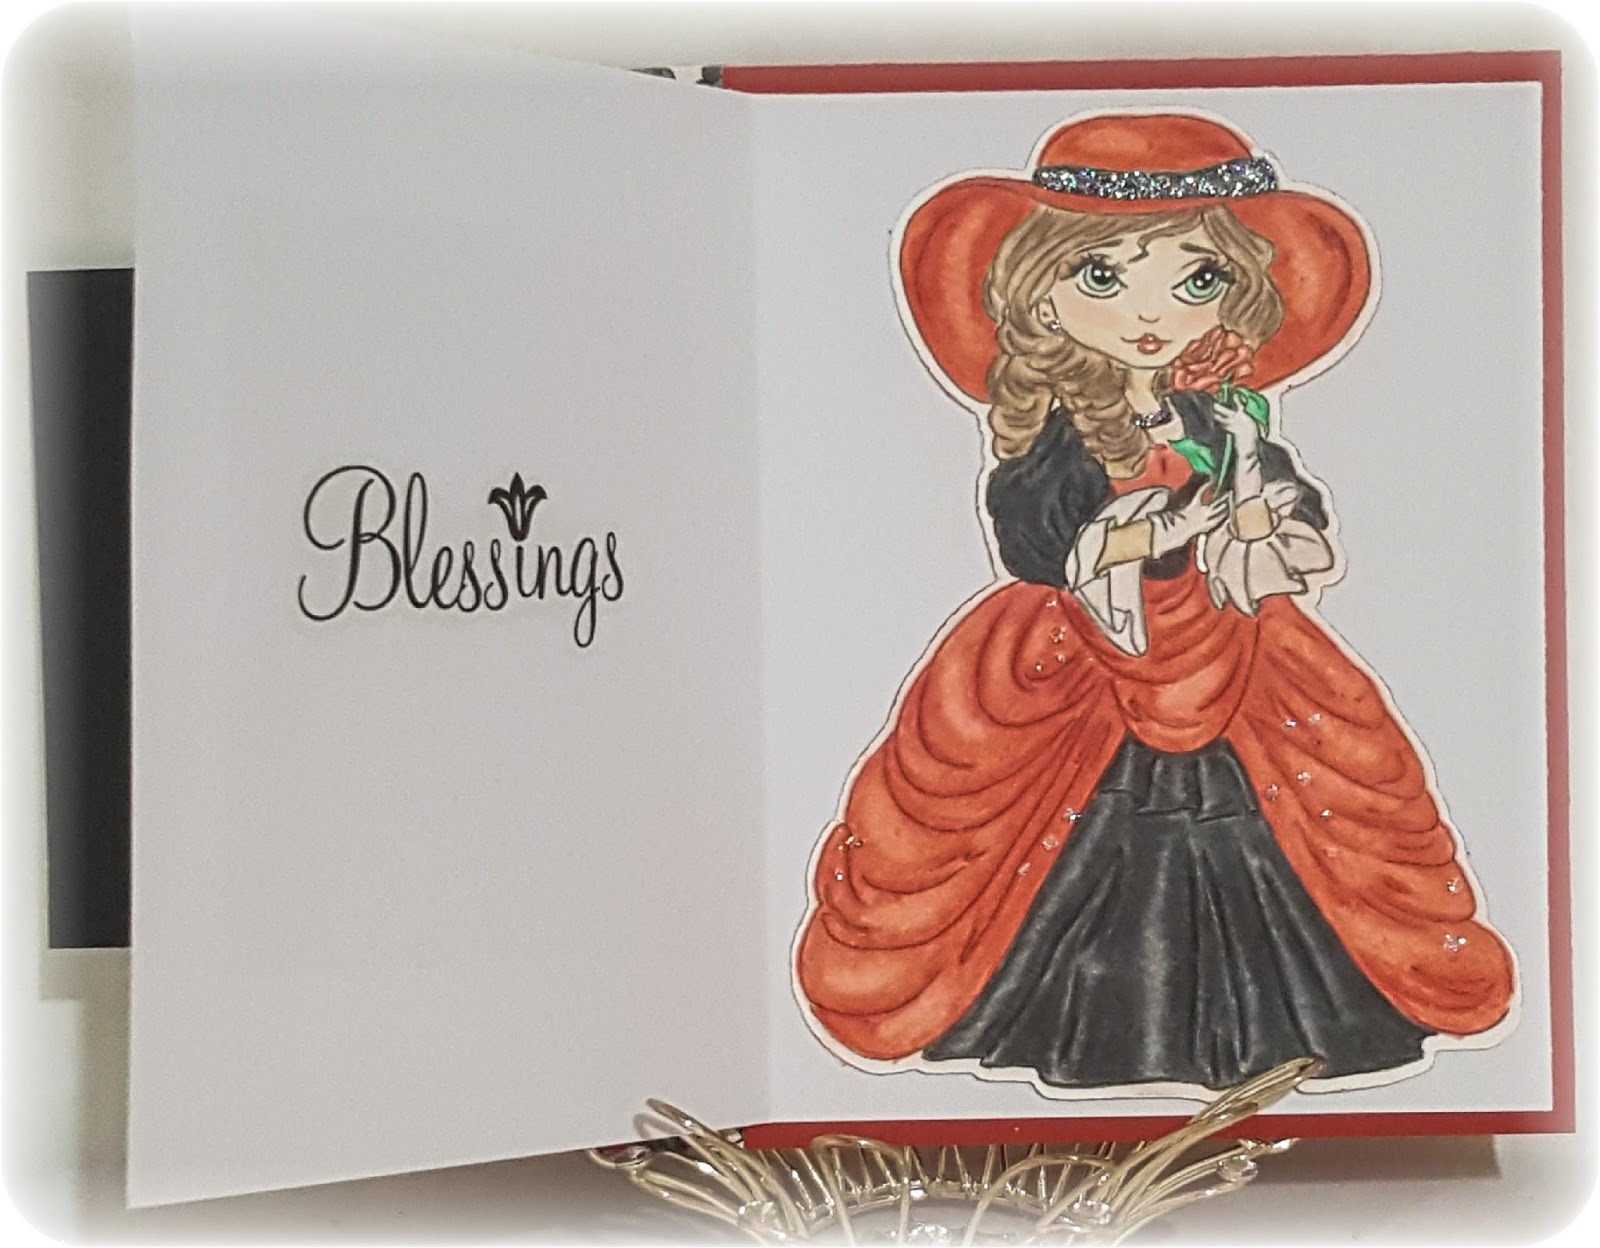
Inside
To find out more about my project, be sure to visit the TTCRD's next online magazine!
Blessings, Jeanie Ellis - Scrapbookingmamaw