Showing posts with label Tsunami Rose Designs. Show all posts

Friday, August 4, 2017

Tsunami Rose Designs

Special Post: All papers in my Tags/Swap altered Cigar Box are from Tsunami Rose Designs.

Here's a refresher of what my box and tags look like:


Many blessings! Jeanie Ellis - Scrapbookingmamaw

Thursday, August 3, 2017

Tags/Box Swap with ScrapbookingwithME Boutique

Hello, fellow crafty peeps! Today I want to share with you another project! I was recently in a Tags/Box swap with a Facebook group, ScrapbookingwithMe Boutique Members Page, where you had to make 8-4x2" tags and put them in a box. You could either make the box or alter one, as long as you put them into a box. My sister had recently given me a cigar box, so I used it to put the tags in, making sure it had plenty of room for some goodies. Here is my project...I hope you like it!

Outside of Box

Inside of Box showing 2 Tags

A Close Up of one of the Tags

Close Up of Box Top

Top of Box
The Butterfly in Glittered Paper along with the Fastener are from ScrapbookingwithMe Boutique. The top of the box has Liquitex Glass Beads, which are also available in the boutique. Some of the laces are from the SBWM sister group, Lighthouse Stop n' Shop.  All the flowers, the stick pins, and butterflies are made by me. I had a wonderful time making this! 

I hope my Swap Partner likes what I did. It was delivered to her today! Yay! 

Thank you for stopping by! Be sure to check out those links, too! :)

Blessings, Jeanie Ellis - Scrapbookingmamaw
P.S. Because this is for a specific swap, if you would like to know where I got the papers, please private message me or use my Contact form (Email) and message me.


Sunday, July 30, 2017

Tsunami Rose Designs July Project

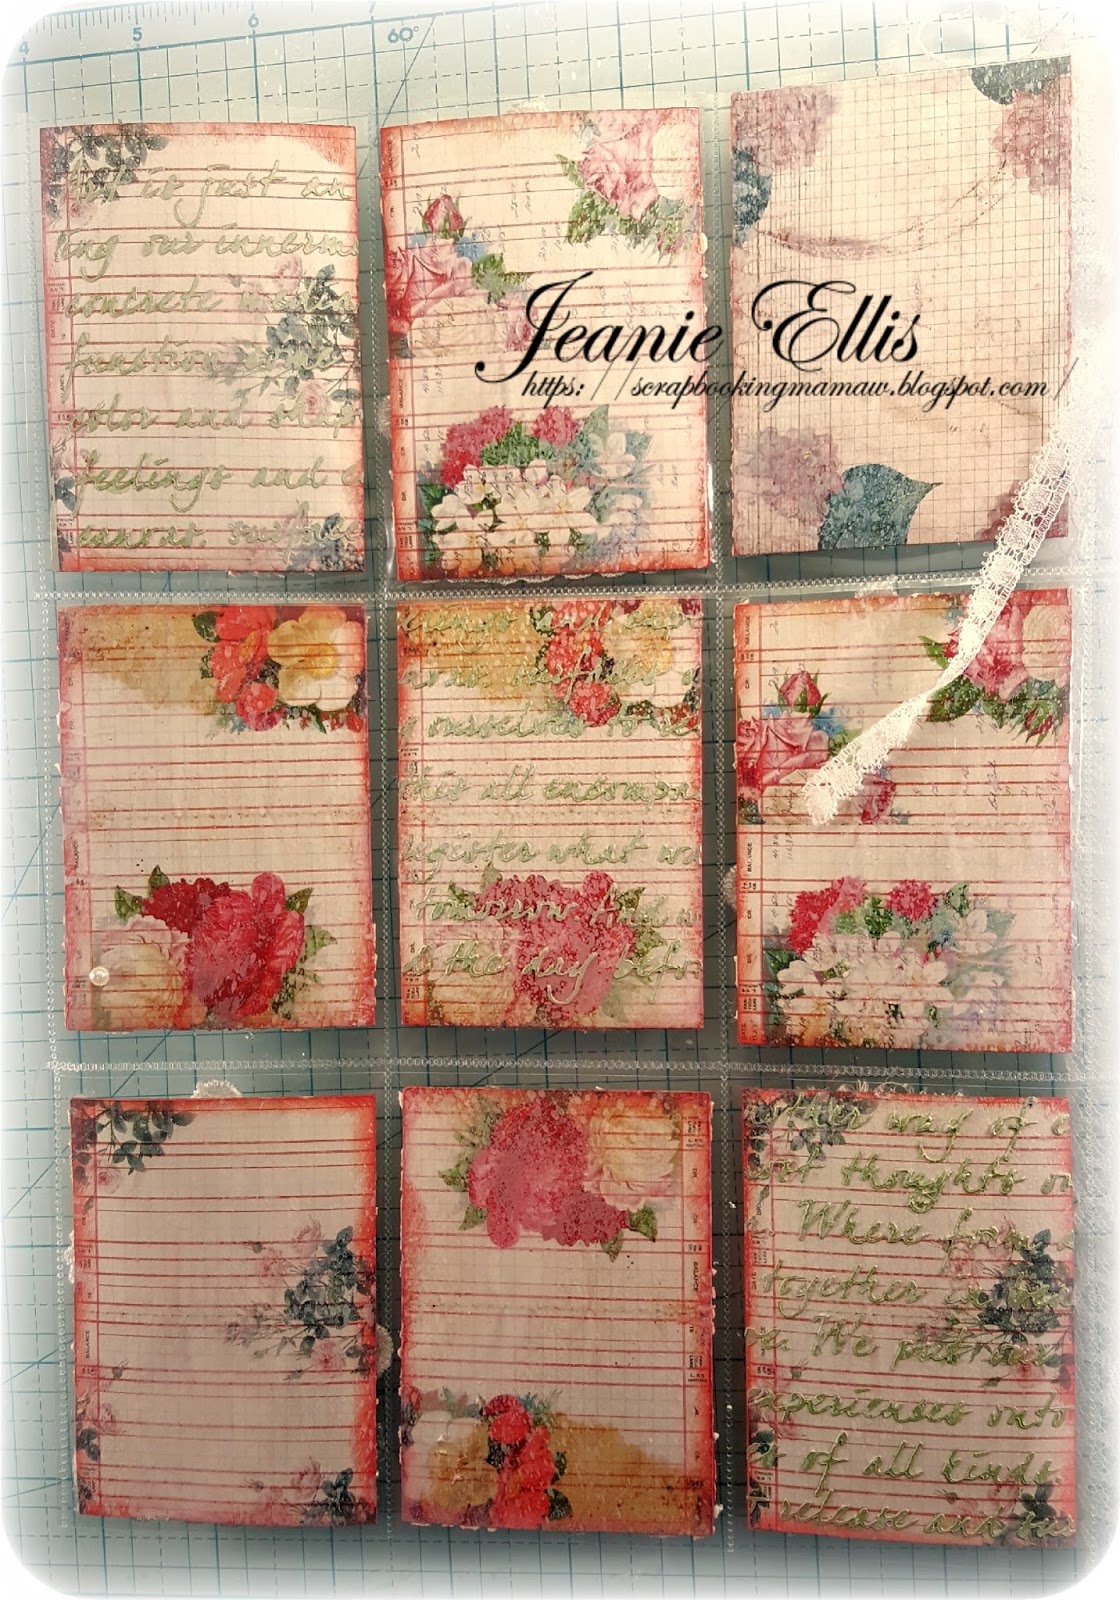
Hello, crafters! Today I want to share with you a Pocket Letter I made using the digital papers from the Tsunami Rose Designs July kit. These are gorgeous papers! It's hard to believe they're digital! I went with a Pocket Letter project this time. One of my favorite things to do are Pocket Letters! I printed all the 2.5"x3.5" cards with my Silhouette. Here it is:


I used a lot of texture paste to put some layers onto each of the card fronts. Then I added ribbons, laces. trims, rhinestones, butterflies, and dragonflies. The back was slightly sprayed with a Frost mist and 3 of the card backs had a green "mousse" with a stencil. Normally, I put little glassine envelopes in the back with goodies; that's why I didn't decorate too much until I know who it's going to. ;) I hope you enjoy it!

Here are some links for you to check out, too! And be sure to stop by the other Design Team members for some awesome inspiration!

Blessings, Jeanie Ellis - Scrapbookingmamaw

TRD Etsy shop: http://bit.ly/tsunamirose
TRD FB Fan Page: http://bit.ly/trdfbfanpage
TRD FB Group: http://bit.ly/trdfbgroup

Tuesday, June 27, 2017

Tsunami Rose Designs DT Project

Hello, all you wonderful crafters! Today I want to share with you my project for Tsunami Rose Designs. This is an awesome digital paper kit, called Hummingbird

I joined a swap in a Facebook Group for a Loaded Envelope. And while I've never ever done a Loaded Envelope before, I thought it sounded like a lot of fun! And the first thing I thought of using was the hummingbird kit. Hummingbirds are beautiful and have always fascinated me! And they go great with Shabby Chic styles, or just about anything really. Here is what I did:

Front with Goodies in Pocket


Back with Tag Pocket


Wand and Lace with Stick Pins Goodies

Emptied Pocket


Accordion Fold - Side View

Empty Back Pocket for Tags

My Very First Wand - I hope my swap partner likes it! By the way, I made the straw for this using a YouTube video by Kelly Barlow Creations. I got the Loaded Envelope Tutorial from KSP by Luisa.

I have to tell you, this was a very challenging project for me, but it was one of those where I just HAD to do it! I wanted a challenge, and I sure got it! Be sure to check out TRD and all the other designers blogs! Thanks for stopping by!

Blessings, Jeanie Ellis - Scrapbookingmamaw

TRD Etsy shop: http://bit.ly/tsunamirose
TRD FB Fan Page: http://bit.ly/trdfbfanpage
TRD FB Group: http://bit.ly/trdfbgroup


Monday, May 29, 2017

Tsunami Rose Designs DT Project

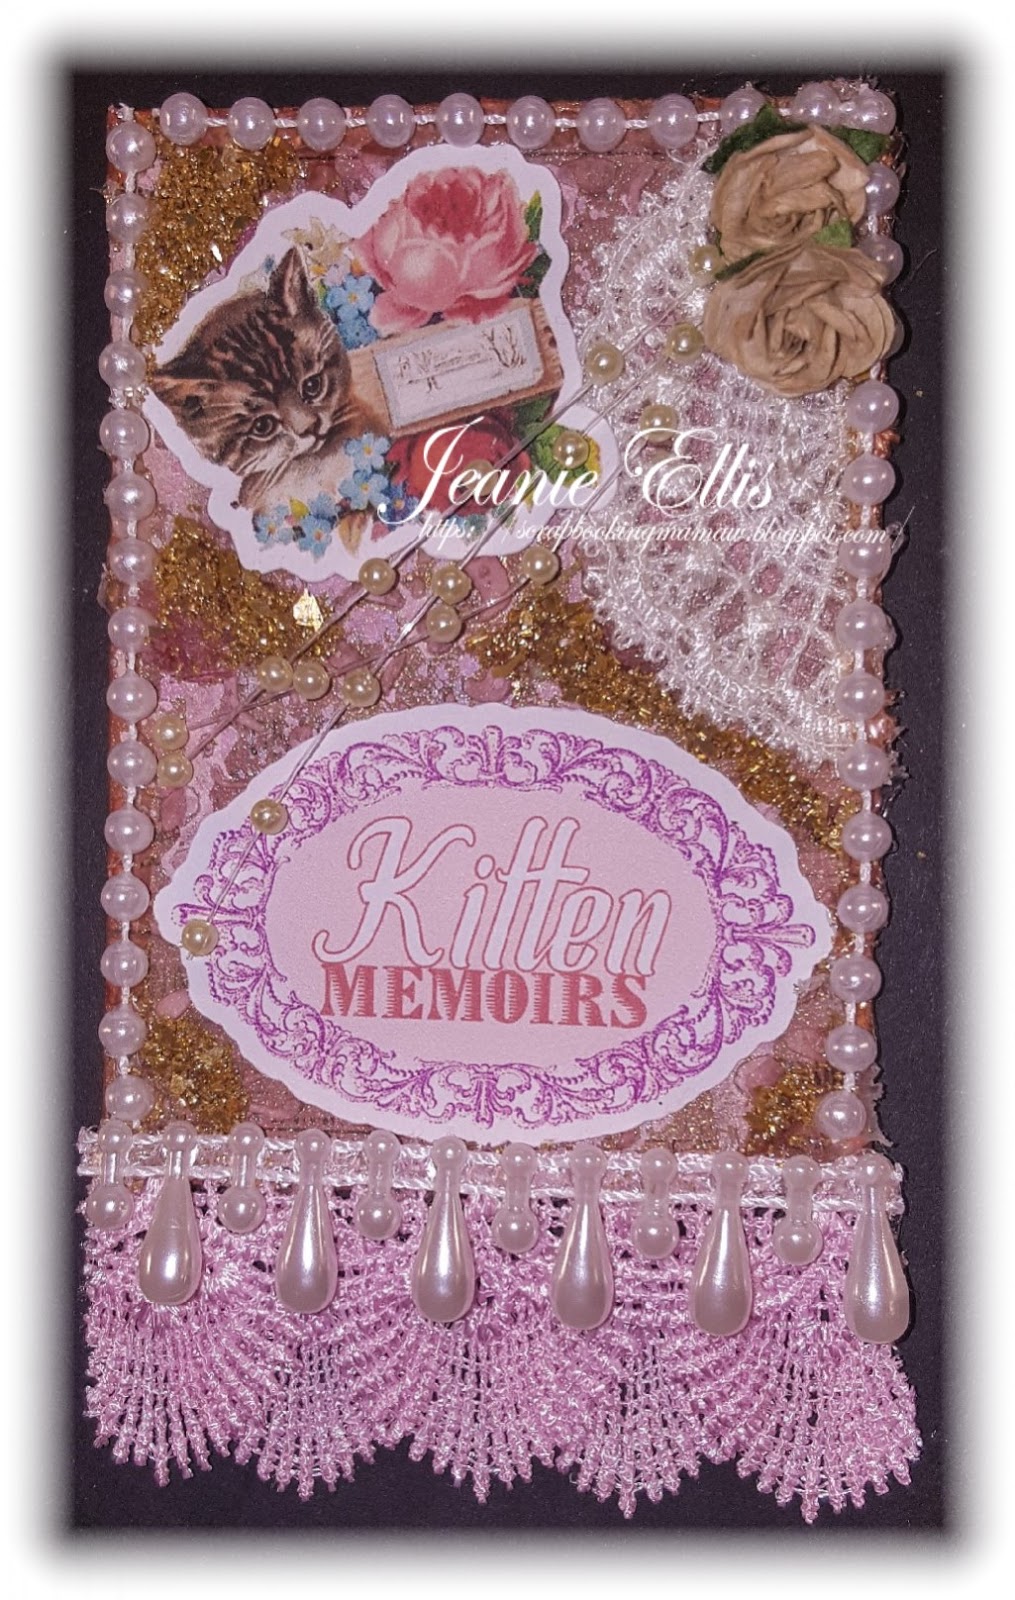
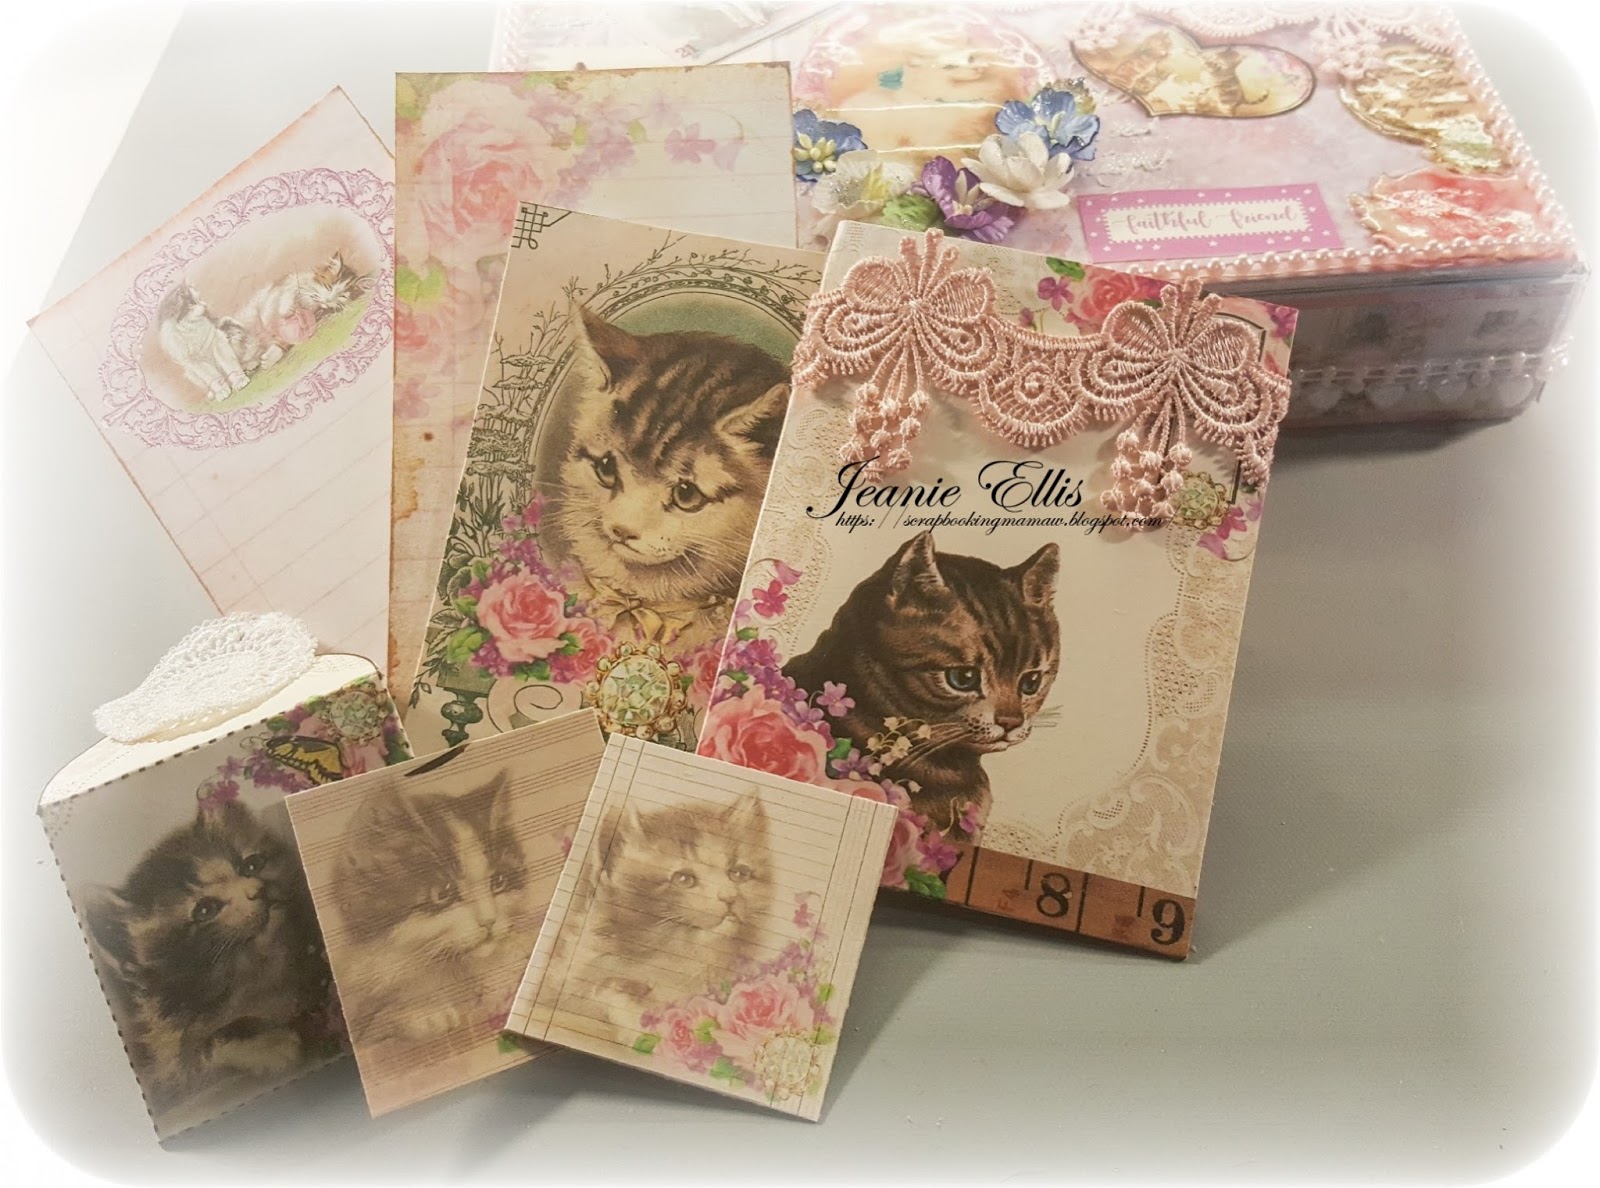
Hello, crafters! I'm so glad you stopped by! Today I want to share with you my most recent project for Tsunami Rose Designs (TRD). This time, I was picked an Artist's Choice project, so I thought I'd make some ATCs (Altered Trading Cards). I used the Kitten Memoirs digital kit. These are some beautiful papers!

So now, here are my cards:


I made this cards just like I would any other mixed media project. I started out with 2.5"x3.5", then printed out some of the digital papers and covered each of the 4 cards. I used Mod Podge to adhere the papers and covered them using a stencil and texture paste. Of course, bling was added...of course! Laces, pearls, and diamond glitters gave these pieces their individual "bling". 

Below are links to the shop, Facebook page, blog, and YouTube. I hope you visit each one! Thank you for stopping by!

Blessings, Jeanie Ellis - Scrapbookingmamaw

Saturday, May 13, 2017

Tsunami Rose Designs DT Project Share

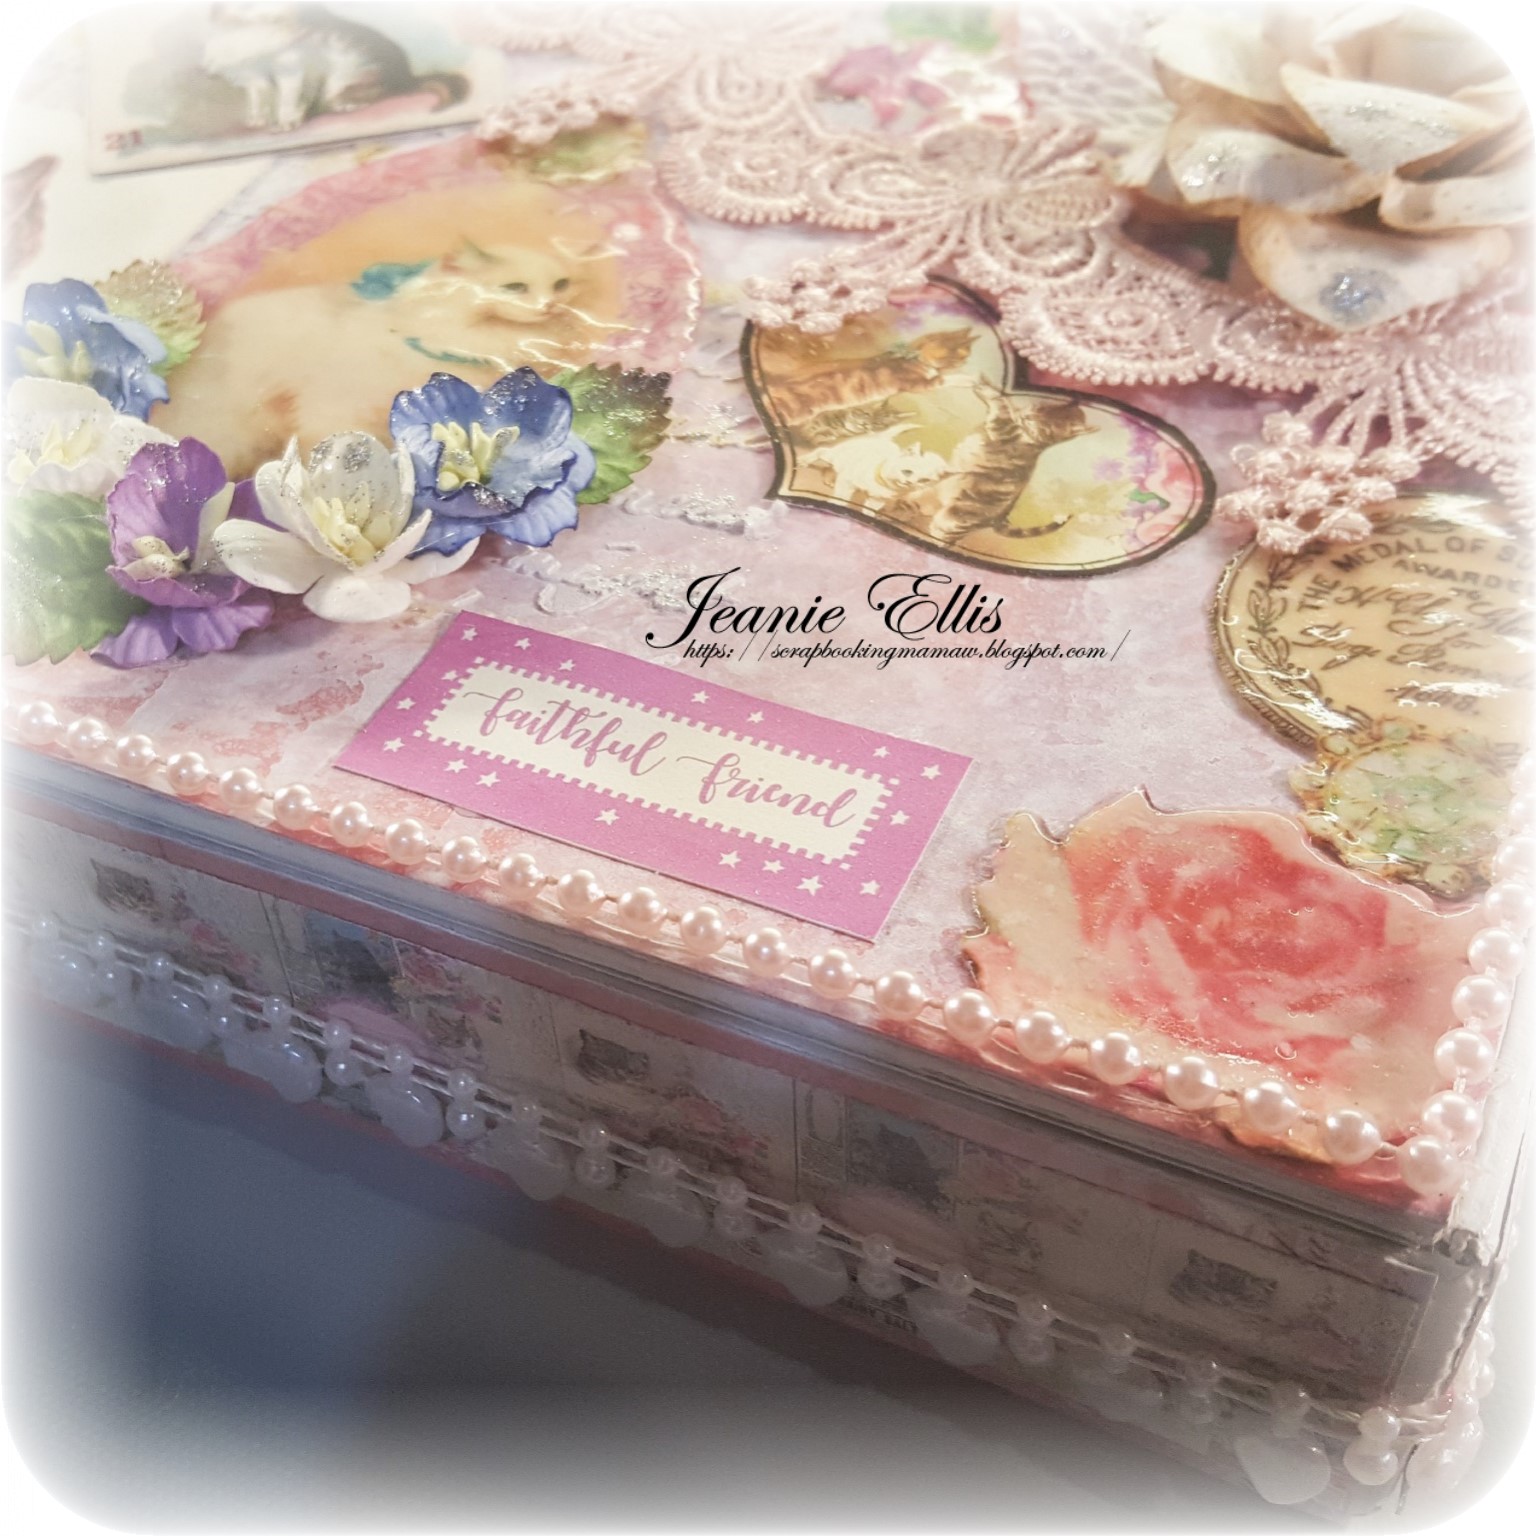
Hello, fellow crafters! It's time once again for another project share from Tsunami Rose Designs (TRD) I will share more links below. 👀 I love using this journal kit! It's called Kitten Memoirs, and since I have a kitty named Mittens, I thought it would be perfect to alter a cigar box and put pictures, memorabilia, and so on in it. Can you tell I love my cat?

So here is what I came up with:
Top View

Top Angled View

Front View

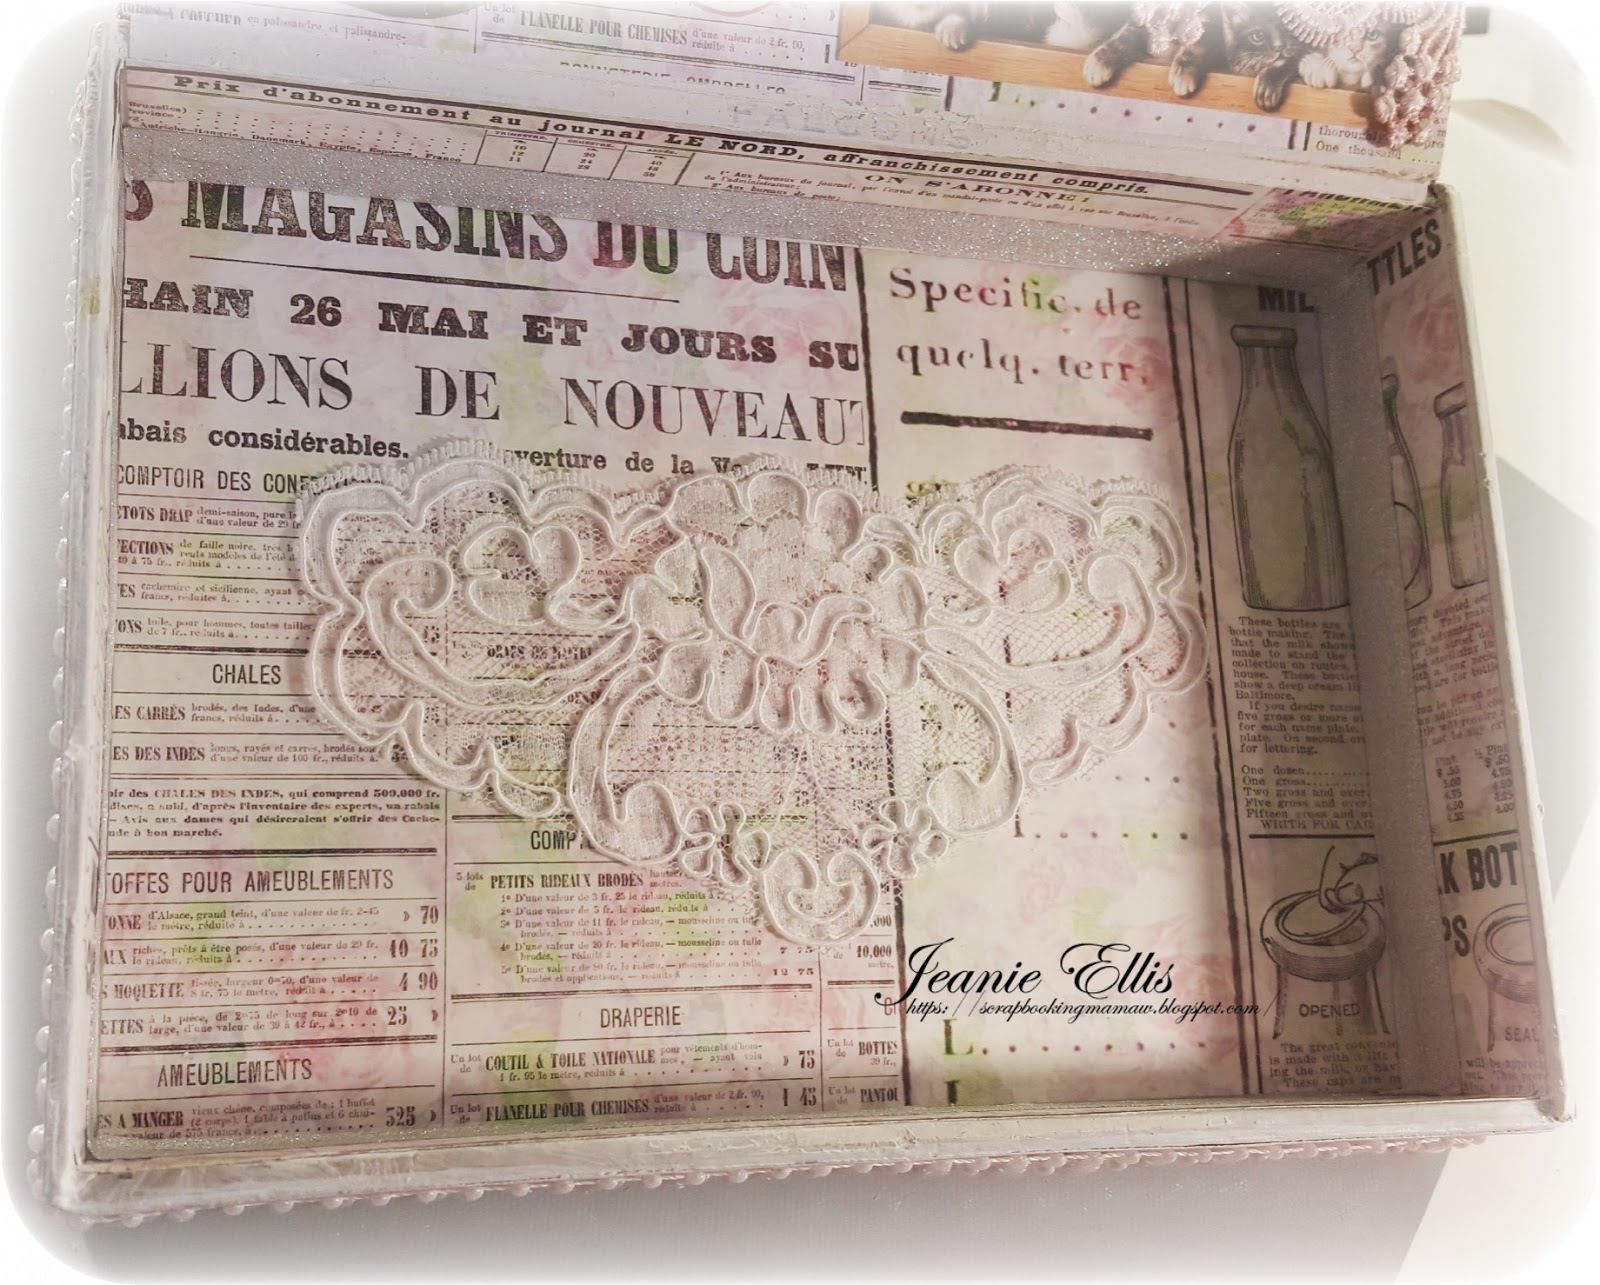
Inside Top View

Inside Bottom View

Another Top Angled View

Tags with Pockets

I love these papers! They print so clearly! Altering this was a lot of fun! I always use Gesso on my projects first, unless they're going to be completely covered with paper. As for this box, I wanted to leave a little white around the edging, hence using the Gesso. Once I painted it, I set it aside to dry so I could work on the papers I wanted to print out. I then covered the outside with some solid cardstock I had in my stash, and then used various cards and such for the decorations. 

I fussy cut a few pieces out and gave them a "glass" look by coating them with double embossing clear powder. Then I cut out my journal cards. I used one of them as a pocket for my larger tags (the one with the pink lace on front of it). All those were placed inside the cigar box.

Inside the box, I used TRD Kitty Memoirs paper to cover. I also decorated the inside of the lid. One of the decorations is a pocket with mini-tags. I also used silver glitter washi tape on the inside edge of the box and an applique on the inside bottom, just to give it a little more "pizzaz"!

Now, I also want to mention that I used some Prima mist spray to give the colors on the outside papers a little less of brightness to it. That was just to give it more of a shabby chic look to it. I was very pleased with the colors.

I hope you enjoyed this project! Please be sure to check out all the links below to Tsunami Rose Designs! 

Blessings, Jeanie Ellis - Scrapbookingmamaw


Thursday, April 13, 2017

Tsunami Rose Designs DT Project

Hello, everyone! Today I want to share a project I did for Tsunami Rose Designs! For my project, I used the Easter Blessings Bible Journaling Kit.  I thought it would be a perfect digital kit for a little Easter Basket or a Spring Basket. Here it is:


I definitely decided on using my Silhouette for this project, as I knew there was going to be a lot of cutting on it! Everything....including the basket itself....is printed with TRD Easter Blessings paper and cut out with the Silhouette. I decorated the outside with laces and flowers, and an applique by KPKre8tions (an administrator with TRD). I added 2 different sets of prayer/blessings cards, each with their own envelopes. Then I placed the name of the basket on the outside of it.

This kit is beautiful! The details and the clarity of the print on these are so gorgeous! Even though I was low on ink at the time, they still printed beautifully!

Here are some links to Tsunami Rose Designs, including her Etsy Shop and her Facebook Page. I hope you drop by!

TRD Etsy shop: http://bit.ly/tsunamirose


TRD FB Fan Page: http://bit.ly/trdfbfanpage
TRD FB Group: http://bit.ly/trdfbgroup
Thank you for stopping by! I always appreciate a visit!
Blessings, Jeanie Ellis - Scrapbookingmamaw

Friday, March 31, 2017

Tsunami Rose Designs Mini-Album Project

Hello, crafty friends! I want to share with you my 3rd project for Tsunami Rose Designs. I had so much fun with this digital paper! I love the soft colors in it and am always amazed how well the colors print out on my printer. Here is a link to my video on YouTube showing you more in-depth details about the album! Again, I used the Rose Noteworthy digital paper kit. There's a lot in this kit, which means you can create a TON of crafty goodness!

Now on to my project:

Front Cover (Fan and Butterfly Appliques by KPKre8tions)

Side and Back View

Front Inside Opening

Showing Pocket Pages

Journaling Cards that go into Pockets

I haven't done a mini-album in awhile, but this was so fun to do! There's a lot of places for photos, journaling...whatever you'd like to put into it! I used the Hidden Hinge Binding System, which I got from YouTube. There's a lot of them out there, but My Sister's Scrapper is usually my "go-to" for making it. 

Here are some special links for TRD. Be sure to check them out! And thanks for stopping by!
Blessings, Jeanie Ellis - Scrapbookingmamaw

TRD Etsy shop: http://bit.ly/tsunamirose
TRD FB Fan Page: http://bit.ly/trdfbfanpage
TRD FB Group: http://bit.ly/trdfbgroup

Wednesday, March 15, 2017

Tsunami Rose Designs Mixed Media Tags

Hello, fellow crafters! It's time once again to share with you another DT project I did for Tsunami Rose Designs! This time I make a Mixed Media Tag. TRD has such beautiful digital papers! I'm amazed by the quality of these designs! For this tag set, I used the Rose Noteworthy Digital Printables. Here are photos of my project:
Large Tag with Pocket Insert & Tags with Envelopes

Tag showing Pocket
Tags with Decorated Envelopes

Tags - Die Cuts are on 3D Foam Squares

Back of Tag

Supplies: Chipboard (4x6"), Digital Design Papers, Digital Die Cuts, Stencil, Texture Paste, Lace, Pearl Drop Trim, Tags, White Litty Bitty Bags, and Twine (Whisker Graphics).

I started off by cutting down a black chipboard to 4"x6", then layered it with one of the digital journal prints (#15 in the kit), from TRD. I then took page 3 of the add-ons and fussy cut out one of the roses to make a large "die cut". Once I adhered those 2 layers on, I took my Rose stencil (Prima) and spread my texture paste on it. I set that aside, and began creating my tags I got from Whisker Graphics. I took one of the add-ons (#13) and adhered the paper to the tags, adding a die cut with 3D Foam Squares on each one. My die cuts were all cut from the Ephemera Kit 14 page 13. I then used my hole punch and added twine (Whisker Graphics) through the holes. 

I decorated the 2 Litty Bitty Bags with a musical note on one and a sentiment on the other, also adding die cuts from the same Ephemera Kit. Once I was done with those and knew the stenciling was dried, I added the lace, pearl trim, and a pocket with a die cut onto the front of the card. You'll also see that I decorated the back, as I didn't want to leave it bare. 

I hope you enjoy this and visit Tsunami Rose Designs Etsy Store! Here are some other great links to follow TRD!

TRD Etsy shop: http://bit.ly/tsunamirose
TRD FB Fan Page: http://bit.ly/trdfbfanpage
TRD FB Group: http://bit.ly/trdfbgroup
Thank you so much for stopping by! I hope you visit!
Blessings, Jeanie Ellis - Scrapbookingmamaw