VintageMadeForYou

Showing posts with label Mixed Media. Show all posts

Saturday, July 13, 2019

Love Yourself - Splashy Mix Media Challenge #7

Hello, fellow crafters! I'm here today to share with you my Design Team project for Splashy Mix Media!   Usually, we're creating something for someone else...birthday, anniversary, special occasion, etc. But how often do we do something for ourselves? Not often! So for this month, our theme is FOR YOU (LOVE YOURSELF). And use a photo or something of yourself. I don't know about you, but that's a very hard thing for me to do, especially since I don't like to take my picture. Ugh! Now let's take a look at the Challenge Board -

I love the sentiment on this board! To me, this was a clean and simple board...so here is what I came up with for this challenge:


As I don't like to fuss over myself, I went with the clean and simple design. 

Here are some steps I took:
Step 1: I found a profile picture of me, and printed it in black and white. Once it was printed, I turned it over and completely covered the back of the photo with my pencil. I then turned it over to the front and traced my photo onto the canvas. It worked like a transfer sheet. I traced that with a black marker and colored in the red lips, as in the example challenge board.

Step 2: I then painted my canvas with black acrylic paint. I used different colors of paste and randomly spread the colors all over in layers. 

Step 3: While that was drying, I got some gold vinyl paper and cut out the letters for my sentiment by using my Silhouette Cameo 3. I then took an 8 x 10 chipboard piece and adhered some Paper Temptress card stock on top of the chipboard.  I cut out the individual sizes I needed for each part of the sentiment and placed the letters on top of the board.

Step 4: I found some white flowers in my stash, and sprayed them with a tea stain colored mist spray. While that was drying, I took my sentiment pieces and adhered them to the canvas.

Step 5: I then added my flowers and the beautiful butterflies you see there, from Reneabouquets. 

I hope that you will join us for this awesome challenge! So much fun! After I got over the initial shock of having to do something with my face on it, I was quite happy with the outcome (even my hubby loved it).

Thanks for stopping by!
Blessings, Jeanie Ellis - Scrapbookingmamaw


Wednesday, January 23, 2019

Textured Mixed Media Canvas - Splashy Mix Challenges

Hi, fellow crafters! Today I am here to share with you my first project as a Design Team Member with Splashy Mix Challenges! How exciting! I love Mixed Media! But first, here are our amazing Sponsors and their generous Prizes to be given away!


INTERNATIONAL CHALLENGE WINNER
(as voted by our DT)

$30 USD value prize from CREATIVE EMBELLISHMENTS


NATIONAL CHALLENGE WINNER
(as voted by our DT)

Rs. 1000 Value prize from Die Cuts and More


3 DT Favourites
(as voted by our DT, in no particular order)

One DT favourite will receive Goodie bag from Letzcraft Store and will be our Guest Designer the following month 


1 Random Winner
(chosen by Random.org)

One Random winner from Indian Participants will get Rs.500 gift voucher

Now it's time to share with you my project! Here's a video process of my Textured Mixed Media Canvas:

Step 1: The first thing I always do with a canvas, is to prepare it's surface by painting it with Gesso. In this case, Acrylic Gesso. 

Step 2: Add my stencils. I used Ranger Texture Paste Opaque Matte for this step. I did various stencils in various sizes and styles. There is no right or wrong in this step!

Step 3: I then painted the surface with Black Acrylic Paint

Step 4: Now it was time to add some elements. I chose several different pieces, such as metal butterflies, gears, flowers, and a resin frame. I then added them in with my Gorilla Hot Glue and painted them black also.

Step 5: Fun time! I used a variety of Prima Sprays (Frost, Glistening Waves, and Fir Needles), and sprayed one at a time. Here's where you decide to dry them with an embossing gun in between layers or spray and then dry all at once. I then added a variety of Art Alchemy Paints and Metalliques (list of items on my video description box). 

Step 6: Now I wanted to add my final pieces - flowers and a windmill. I sprayed the white flowers with the Glistening waves and added texture paste to the large flower, hot glued them on the canvas, and colored them with some of the paints. I also "aged" my windmill by using the rusty colored pastes and hot glued it on.

Step 7 (Final): My final step was to use some bamboo sticks I had in my stash, and hot glue them all around the canvas, to give it more of a "frame". I left the white on the outside so my inward project would "pop"! 

Now for some photos of my finished canvas:


I hope that you enjoyed my project, and that you will join us in this month's Splashy Mix Challenges!  Thank you for stopping by!


Blessings, Jeanie Ellis - Scrapbookingmamaw

Friday, January 4, 2019

Splashy Mixed Media Challenge Blog!

Hello, fellow crafters! I am so excited to announce to you that I am now a Design Team Member for a NEW CHALLENGE BLOG called Splashy Mixed Media Challenges!   When I applied for the team, I wasn't sure I'd get on , but when I got the email the other day saying I had been accepted, I was in Mixed Media Crafty Heaven! I am so very honored to have been chosen as a member of the team!
Here I am! :)

Our first challenge has already started, (follow link above). We hope that you will join in our challenges and spread the word that there's a new blog in blogtown! There are prizes to be given away each month! Below are our sponsors for January 2019 along with their prizes to be given:

INTERNATIONAL CHALLENGE WINNER
(as voted by our DT)

$30 USD value prize from CREATIVE EMBELLISHMENTS


NATIONAL CHALLENGE WINNER
(as voted by our DT)

Rs. 1000 Value prize from Die Cuts and More


3 DT Favourites
(as voted by our DT, in no particular order)

One DT favourite will receive Goodie bag from Letzcraft Storeand will be our Guest Designer the following month 

'

We are so very grateful for our Sponsors! So be sure to check them out! Be sure to check not only our Blog Challenge site (and join in on the fun!),but check out our Facebook Page too (HERE)! Be sure to keep checking back, as each DT will show their inspirational projects throughout the month (mine will be toward the end).

Thanks for stopping by! 
Blessings, Jeanie Ellis - Scrapbookingmamaw

Wednesday, October 24, 2018

Mixed Media Techniques with Save the Crafty YouTuber Video Hop!

Hi, and welcome to Day 3 of the Save the Crafty YouTuber Video Hop! Today I get to share with you my take on Mixed Media by making a tag rather than a card!
The Save the Crafty YouTuber Video hop is a celebration of cardmaking video tutorials created by a group of talented crafters of all different styles and levels. We are coming together over 5 days to give our viewers a chance to discover other amazing cardmakers and help reach monetization goals! All you have to do is watch, like the video, consider subscribing, and click the link in the video description box to hop to the next video. Let yourself be inspired!


Don’t forget to comment because we have tons of prizes to give away. Please indicate if you are located in the USA or International so that prizes can be awarded appropriately as some prizes (not all!) have restrictions on them. Winners will be announced on Justine's YouTube Channel and also on her blog on November 10th! (Comments must be submitted by November 7th.)

Don’t forget to check back every day this week since there are 5 themed days of video hops! You never know when you’ll discover your next favourite YouTuber!


Be sure to go to my YouTube channel for the hop to make your comment! Thanks for stopping by!

Blessings, Jeanie Ellis - Scrapbookingmamaw

Friday, March 9, 2018

Shadow Box Project

Hello, Crafters! Today I just want to share with you a project I made. I had entered a Facebook challenge a few months back, and even won! Woo-hoo! Was I excited! This was through Reneabouquets, using items from her shop. You can find her shop through her Facebook page.

I won't be sharing with you details on this, but if you click HERE you'll be directed to that blog regarding how it was made and the supplies. Just a short time ago, I asked my husband if he would make a shadow box for this mixed media project...so now for the big reveal!!


I do hope you enjoyed looking at this project! It was so fun to do! Thank you for stopping by!

Blessings, Jeanie Ellis - Scrapbookingmamaw

Tuesday, February 20, 2018

TTCRD Mar-Apr 2018 Web Challenge

Hello, crafters! I want to share with you my project for Through the Craft Room Door  Web Challenge for the upcoming March/April 2018 online magazine! For this challenge, a Mixed Media project is what's happening! Here is my project - a Mixed Media card. I don't do a lot of those type of cards, but I thought I'd try my hand at one for this time around. 


I put a lot of texture and various types of pieces, embellishments, and so on in this project. I was happier with it than I thought I would be. To see all the supplies I used in it, be sure to check out the upcoming TTCRD Online Magazine Mar/Apr 2018 issue! And you'll see a lot of great tutorials in there as well!
Thanks for stopping by!
Blessings, Jeanie Ellis - Scrapbookingmamaw

Entered into the following challenge(s):
Dream Valley Challenges - Things with Wings #173

Monday, February 5, 2018

Reneabouquets February Romantic/Valentine Challenge

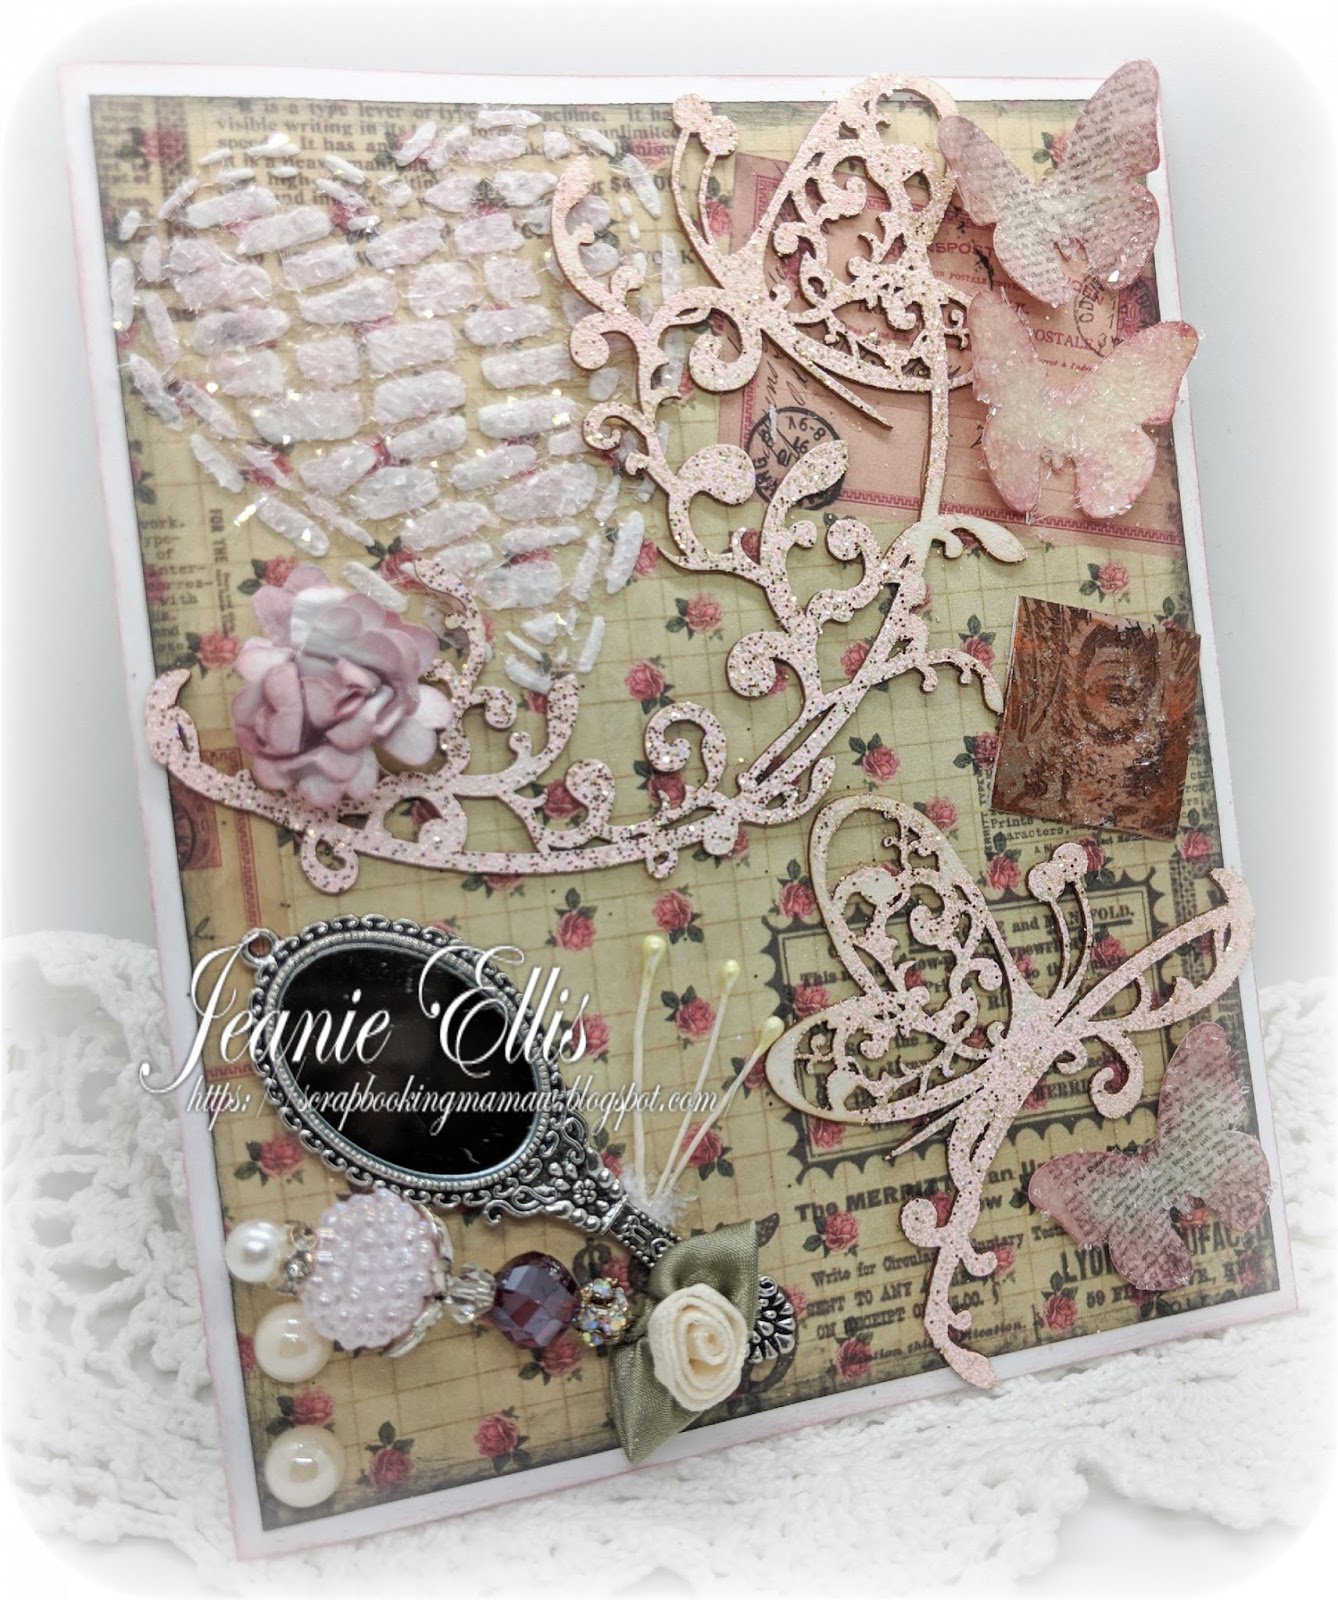
Hello, crafters! Today I want to share with you a card I made for a Facebook Challenge over at Reneabouquets.  It was such a fun card to make! Here it is:

One of the rules to enter this challenge, is to use some product from Reneabouquets Shop. If you're familiar with Renea's shop, you'll see several items that I've used that I bought in her shop. The texture paste, the Butterfly cutout (which I divided up), Heart Stencil, Diamond Glass Glitter, and the little mirror. I hope I didn't miss anything!

Mixed Media of any kind is one of my favorite things to do! I hope you enjoyed this....And I hope you'll follow my blog!

Thanks for stopping by!
Blessings, Jeanie Ellis - Scrapbookingmamaw

I've entered these challenge(s)
Artistic Inspirations - A/G with optional Be My Valentine #193
Crafting from the Heart - A/G #193
Simon Says Stamp Monday Challenges - Feb 5, 2018 Love is in the Air
Creatalicious  Challenges - Optional twist love/anniversary/thinking of you #132
I had also entered this into Dream Valley Challenges, but silly me forgot to link it back! So it's too late now for me to actually enter this one, but I wanted everyone to be aware, there is another great challenge blog!


Sunday, February 4, 2018

Whiskers Graphics Step-by-Step Mixed Media Canvas

Hello, all you Crafters!! I have a mixed media tutorial to share with you! This one is as a DT with an awesome company called Whiskers Graphics. Here is the link for the full tutorial: HERE.

Now let me share with you what I did:

Be sure to go to the link to see how I made this. And then check out the beautiful products they have by going to Whiskers Graphics!

Thank you for stopping by! 
Blessings, Jeanie Ellis - Scrapbookingmamaw

Thursday, August 17, 2017

Mixed Media Project

Okay, all you crafty peeps! I've created a Mixed Media project. It's been awhile since I created one like this, but when the Challenge came in for Reneabouquets in her Facebook page event, I had to try! Plus, a FB friend of mine with ScrapbookingwithM.E Facebook Group, also mentioned how great the Art Alchemy acrylic paint Sparks are...so naturally, that went right along with what I needed! It was my first time using them, but I must say...they are AWESOME!

Here is my project:


I used various items from both Reneabouquets, such as Gold Micro Beads, Diamond Glass Glitter, the Butterfly, the stencil....and the Art Alchemy paint was from ScrapbookingwithMe. Links are above when you click on their names. 

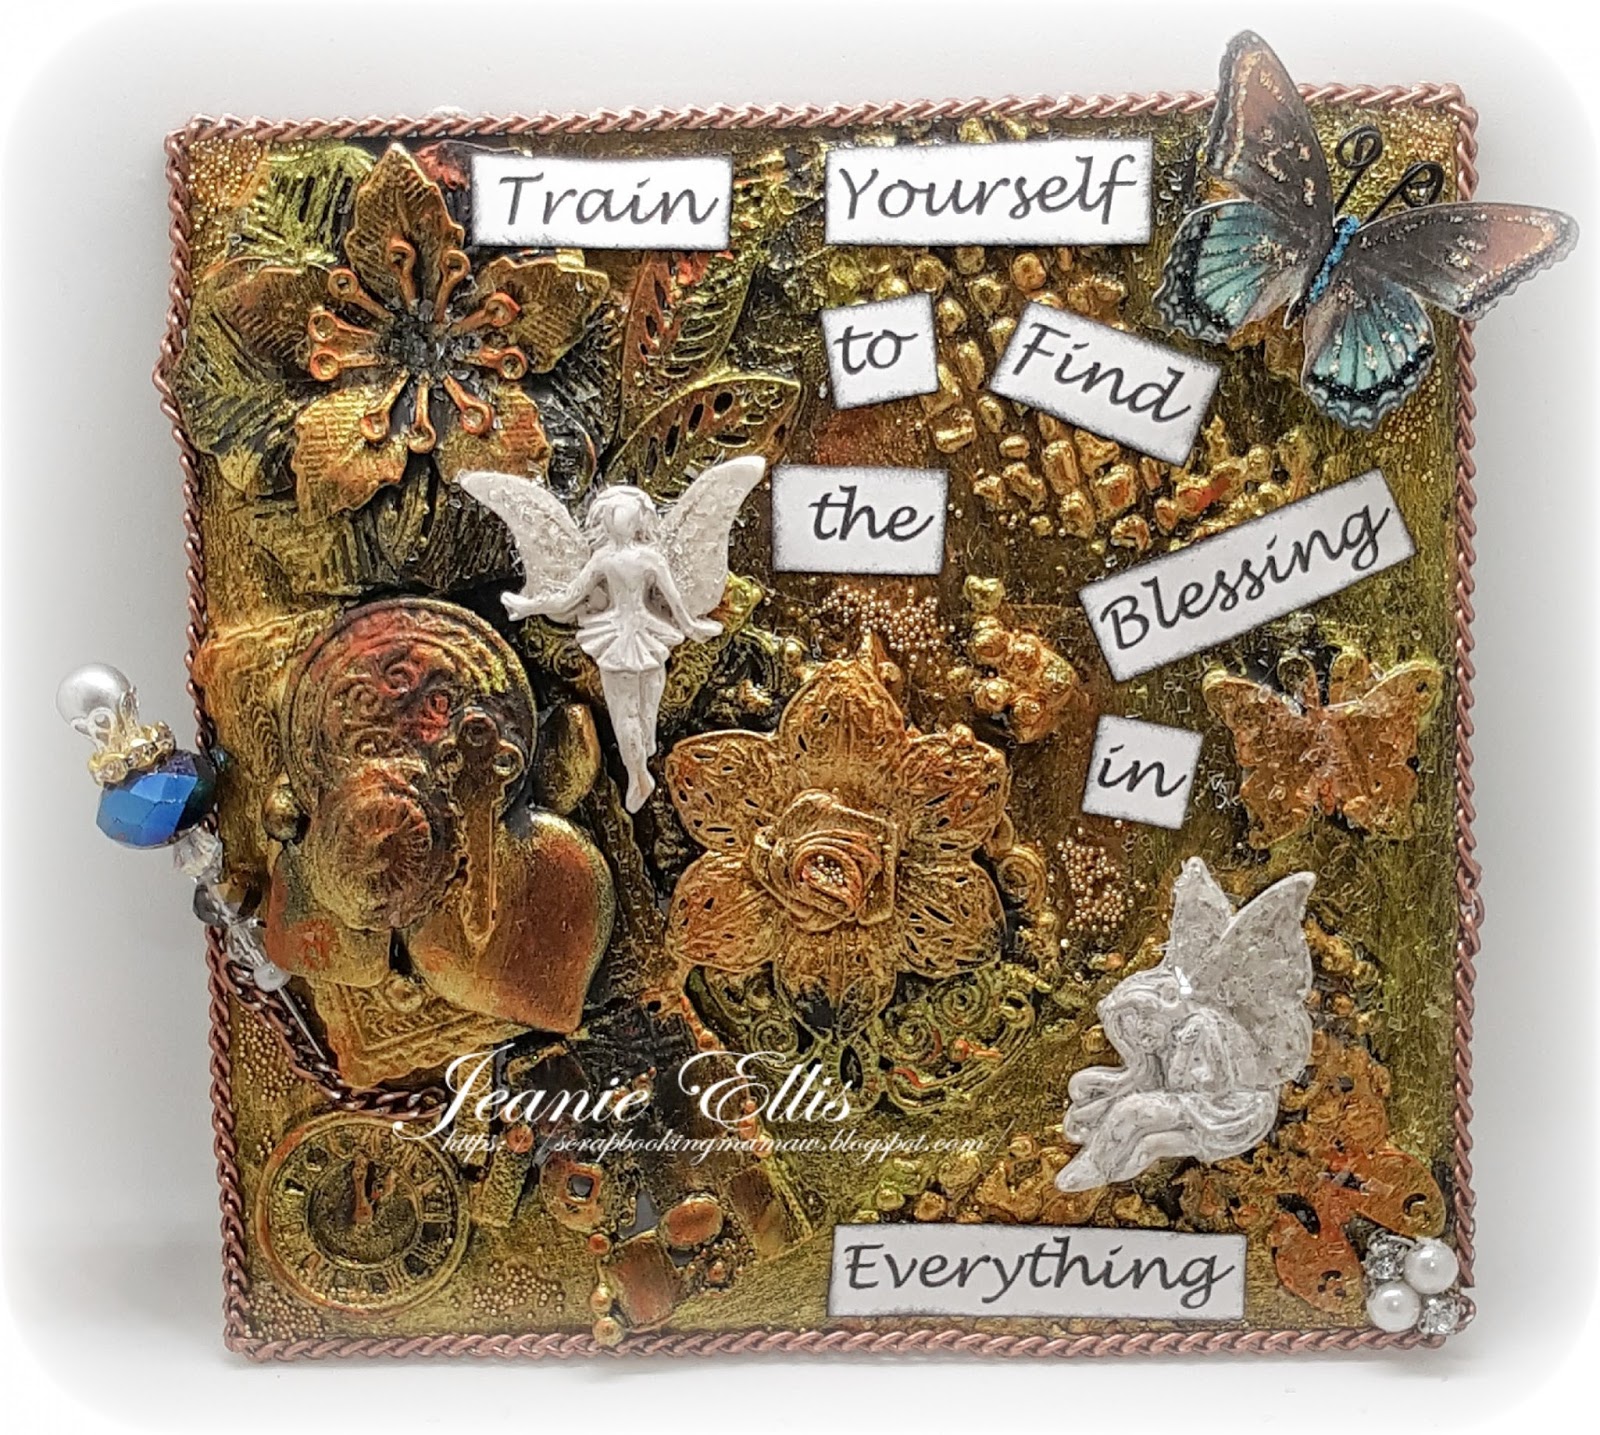
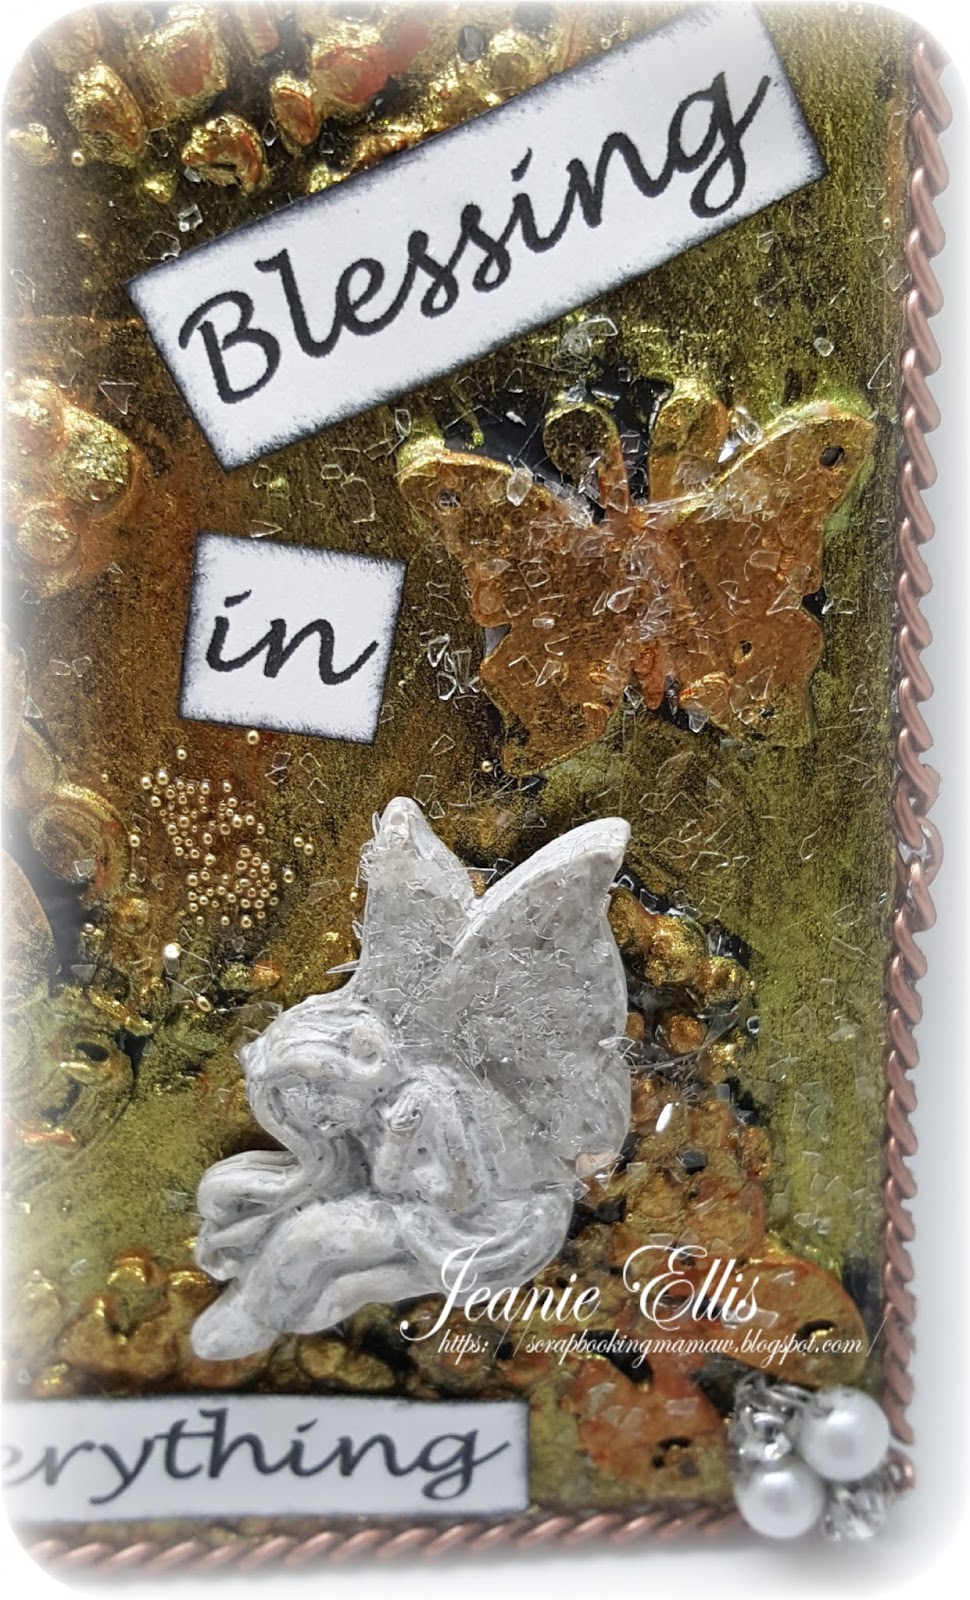
The process was such a fun thing to do! I love mixed media anyway. I first glued everything (bottom layered items) onto the board, then used Gesso on top of all that. Then I painted over that with black acrylic paint. Next came the Alchemy paints....CAN WE SAY FUN??? I can! I then added all the beads, glitter to various areas, added some top layers (such as the stick pin I made, the little jewel in the bottom right I also made, the angels a swap partner sent me, and the beautiful butterfly. Lastly, I used Glossy Accents to string the chain around the canvas. 

I hope you enjoyed this little project of mine! And thanks for stopping by!

Blessings, Jeanie Ellis - Scrapbookingmamaw
Tuesday, April 18, 2017

Outlawz Color Challenge April 18th

Hello, crafters! We started a new COLOR CHALLENGE over at The Outlawz today! And I love the colors in the Tic Tac Toe photo inspiration! Here it is:
Photo Inspiration
For my project, I decided I'd do a Mixed Media canvas, using the top left to bottom right colors and embellishments: pink - lace; lavender - pearls; and green - bling. One of my very favorite things to do are Mixed Media and making Tags! Now for my project:
For my canvas, I began by spreading Gesso all over it so it would get a good primer base. At this point, I'm not sure if I'm going to paint directly on it, or use scrapbooking paper. In the end, I decided to use designer cardstock. As with any mixed media, you can start with one thing and totally end up a different way. While my paper doesn't show much, it still gave me a good base to go with. I used an acrylic stamp in various places on the canvas, then I covered it with rose stencils by Tim Holtz. I sprayed different colors of mists. For the clock, I wet embossed it using a copper color by Zing! 

The applique in the bottom right is made by KPKre8tions. The butterflies are made by Reneabouquets. These 2 ladies offer some really great product and are in my faves!!

I hope you come by and join in on our challenge this week! Thank you for stopping by!

Blessings, Jeanie Ellis - Scrapbookingmamaw

Entered into the following challenge(s):
Mixed Media World - Anything Goes with optional twist: use watercolors - April 17th
Love to Create Challenge - Mixed Media April 16th Challenge


Saturday, March 18, 2017

JessicaLynnOriginal Reveal Card #3

Hello, fellow stampers! Today is my 3rd and final Reveal for the Jessica Lynn Original Mason Jar set! And of the 3 that I made, this one is my favorite! I love doing tags...I'm sure I've mentioned that somewhere before...lol...and I love pink! Here's a picture of what's in the set: 
And here is my project:

Close Up of Tag
As you can see, I have sort of a Mixed Media thing going on here. I used my Silhouette to cut out the bottom and top layers of the tag. Then I used my Gelatos to color up the top layer, and then used a stencil to spread texture paste all over it. Before it had a chance to dry, I added glass glitter all over the top, pressed it in slightly (be careful! it's sharp), and then used my heat gun to dry it. I loved the effect of the glass glitter. I also used Glossy Accents on the buttons and the little garden home to give it some shine. The butterfly applique is from KPKre8tions and the pink background paper with the pink ribbon are from Paper Temptress
. 
This adorable set of stamps can be shipped FREE if pre-ordered with the also NEW Hawaiian Vacation Brentwood Set! But hurry! Free shipping ends tonight! I adore this set of stamps. They are very well made, and the sizes of some of them are so cute! However, if you only want the Hawaiian set, it will be shipped free when pre-ordered, by itself. 

To learn more about the Hawaiian stamp set, follow this link to a video that Jessica has made:


While you're there, tell them that Jeanie sent you! And don't forget to check out my teammies blogs! They have some wonderful projects to share with you! Here they are:

Blessings, Jeanie Ellis - Scrapbookingmamaw

Wednesday, March 15, 2017

Tsunami Rose Designs Mixed Media Tags

Hello, fellow crafters! It's time once again to share with you another DT project I did for Tsunami Rose Designs! This time I make a Mixed Media Tag. TRD has such beautiful digital papers! I'm amazed by the quality of these designs! For this tag set, I used the Rose Noteworthy Digital Printables. Here are photos of my project:
Large Tag with Pocket Insert & Tags with Envelopes

Tag showing Pocket
Tags with Decorated Envelopes

Tags - Die Cuts are on 3D Foam Squares

Back of Tag

Supplies: Chipboard (4x6"), Digital Design Papers, Digital Die Cuts, Stencil, Texture Paste, Lace, Pearl Drop Trim, Tags, White Litty Bitty Bags, and Twine (Whisker Graphics).

I started off by cutting down a black chipboard to 4"x6", then layered it with one of the digital journal prints (#15 in the kit), from TRD. I then took page 3 of the add-ons and fussy cut out one of the roses to make a large "die cut". Once I adhered those 2 layers on, I took my Rose stencil (Prima) and spread my texture paste on it. I set that aside, and began creating my tags I got from Whisker Graphics. I took one of the add-ons (#13) and adhered the paper to the tags, adding a die cut with 3D Foam Squares on each one. My die cuts were all cut from the Ephemera Kit 14 page 13. I then used my hole punch and added twine (Whisker Graphics) through the holes. 

I decorated the 2 Litty Bitty Bags with a musical note on one and a sentiment on the other, also adding die cuts from the same Ephemera Kit. Once I was done with those and knew the stenciling was dried, I added the lace, pearl trim, and a pocket with a die cut onto the front of the card. You'll also see that I decorated the back, as I didn't want to leave it bare. 

I hope you enjoy this and visit Tsunami Rose Designs Etsy Store! Here are some other great links to follow TRD!

TRD Etsy shop: http://bit.ly/tsunamirose
TRD FB Fan Page: http://bit.ly/trdfbfanpage
TRD FB Group: http://bit.ly/trdfbgroup
Thank you so much for stopping by! I hope you visit!
Blessings, Jeanie Ellis - Scrapbookingmamaw